Simple step-by-step guide
6 Pots Set
5 Pots Set
3 Pots Set
Preparing Soil
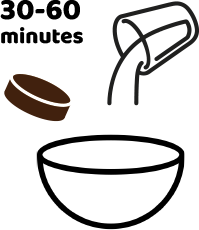
Pour 2/3 cup (6 fl oz ) of the warm water over the 1 soil disk to let it hydrate and expand.
For 16 soil discs, take 11 cups (2600 ml) of warm water.
For 8 soil discs, take 6 cups (46 fl oz) of warm water.
For 7 soil discs, take 5 cups (40 fl oz) of warm water.
Wait 15-20 minutes until soil pellets loosen and expand 4-5 times their original size. The soil should be damp, but not dripping wet.
If the soil pellets appear dry, then add some more water until the pressed soil discs expand. If the soil seems too wet, squeeze the excess water out or allow it to dry out a little bit.
Garden hack: for better sprouting, you can use a germination fertilizer
Soaking Seeds
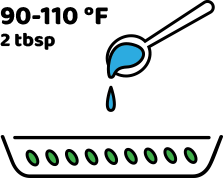
While waiting for the soil discs to expand, prepare your seeds.
Put 20-30 seeds in a small container, add 2 tablespoons of warm water to cover them, and let the seeds soak.
Transfer Soil

Transfer the soil mixture into the pot. Fill 3/4 of the planter with the expanded soil, leaving up to 1/2 inch between the top of the soil and the top of the pot. Gently tap the soil down. Store away your leftover soil sealed in the original bag until the next time.
Sowing Instructions
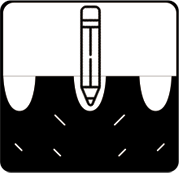
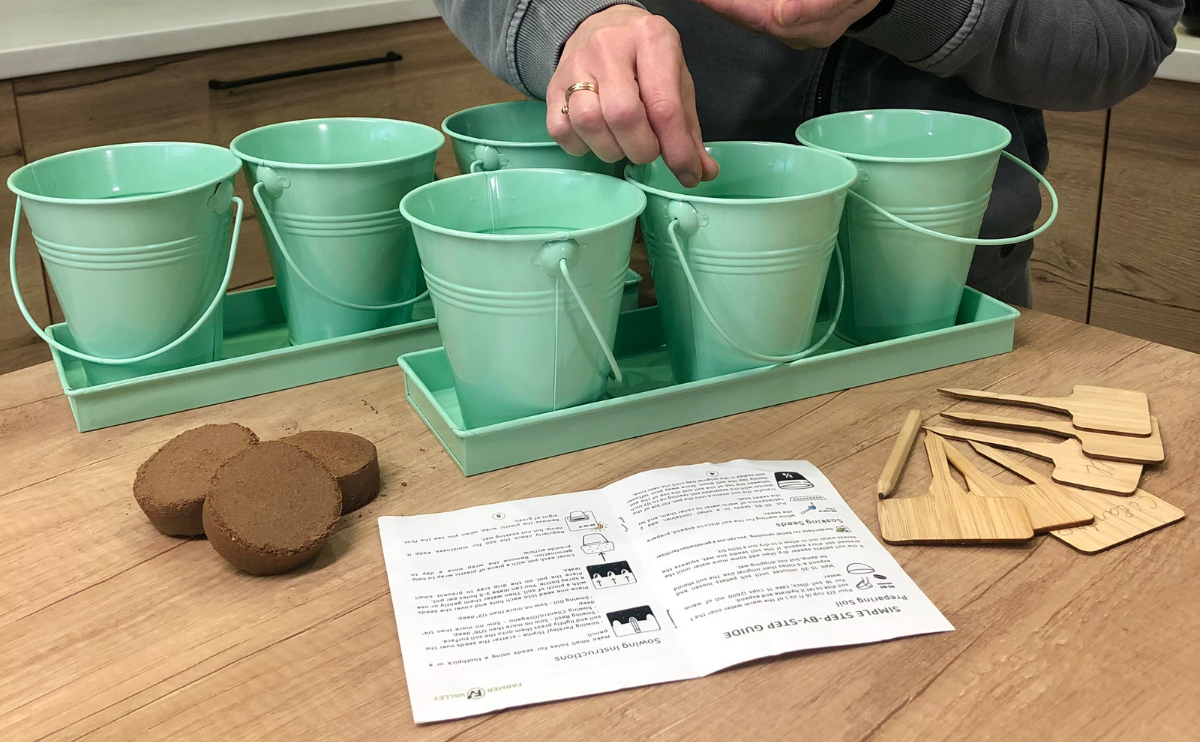
When it comes to planting your favorite herbs, the process is pretty simple. Before you can start, making small holes in the ground is necessary. For this purpose, we recommend using our special pencil or any other tool you’re comfortable with.
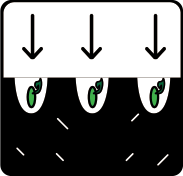
The depth of each hole will differ based on the type of plant seed being used – so be sure to check the recommended instructions for your particular plant. Place one seed into each hole and cover the seeds with a pinch of soil. Then water them gently or use a spray bottle. You can make 3-5 holes per pot. Place the pot on the drip tray to prevent small leaks.
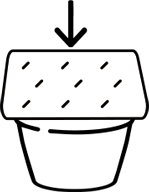
Cover each pot with a piece of plastic wrap to help germination. Remove the wrap once a day to provide airflow.
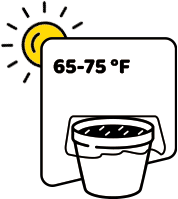
Regularly check the soil for moistness. Keep it damp, but not soaking wet. Remove the plastic wrap, when you see the first signs of green.
This is a general germination instruction for herb seeds. To get information regarding a specific type of herb, you need to find a growing guide for this particular plant.
To increase germination rate we highly recommend to use a plant food.
The best method for watering your pots is called “wicking”. Use cotton, nylon, or acrylic as wicking material. Fill a saucer with water and connect the pots and the saucer with the wicking material. This self-watering system will keep your pots always moist but never too wet. If your homemade wick watering system is assembled the right way, the soil will always take as much water as it needs.
Endless garden: you can cut off the grown ones, put them in water and they will take root, and then plant them
Be cautious when placing pots near a window because the window pane can work as a lens and burn the fresh leaves.Place pots where light is diffused. A strong source of light can be harmful for your plants. Evenly distributed light is optimal for the majority of plants.If the young plants are long and leggy it means they need more light.Moisten the soil thoroughly after sowing but do not drench your plants. Cover them with cellophane or a transparent sheet with some holes for ventilation. This will keep the humidity levels inside the greenhouse high.Always check for signs of molds when the plants are young. Hot and humid conditions are ideal setting for mold, especially if ventilation is not sufficient.If you have transferred your seedlings outdoors, they can stop growing for a few days. Transplant shock is normal. Give your plants lots of tender loving care, and soon they will start growing again.
Mold Concern
If you notice mold in your pots, don’t worry!
The problem is easily manageable. First of all, remove visible mold spots and follow these tips to prevent mold from being recreated in the future.
• Don’t overwater your plants.
• Water them only when the soil is significantly dry.
• Proper ventilation and sufficient level of sunlight will reduce the risk of mold.
• Remove the plastic cover more frequently to ensure proper airflow.
